As a seasoned Research and Development Engineer specializing in Industrial Internet of Things (IoT), I am often tasked with bridging the technological gap between traditional, pre-transitional industries and the modern, connected world of IoT. One critical component in this transition is the RS485 to Ethernet Converter, which allows legacy RS485 devices to seamlessly integrate into modern IP-based networks. In this article, I will outline the wiring methods for RS485 to Ethernet Converter, emphasizing the technical nuances and best practices to ensure a successful deployment.
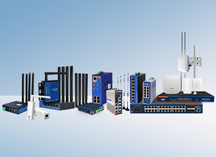
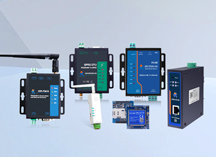
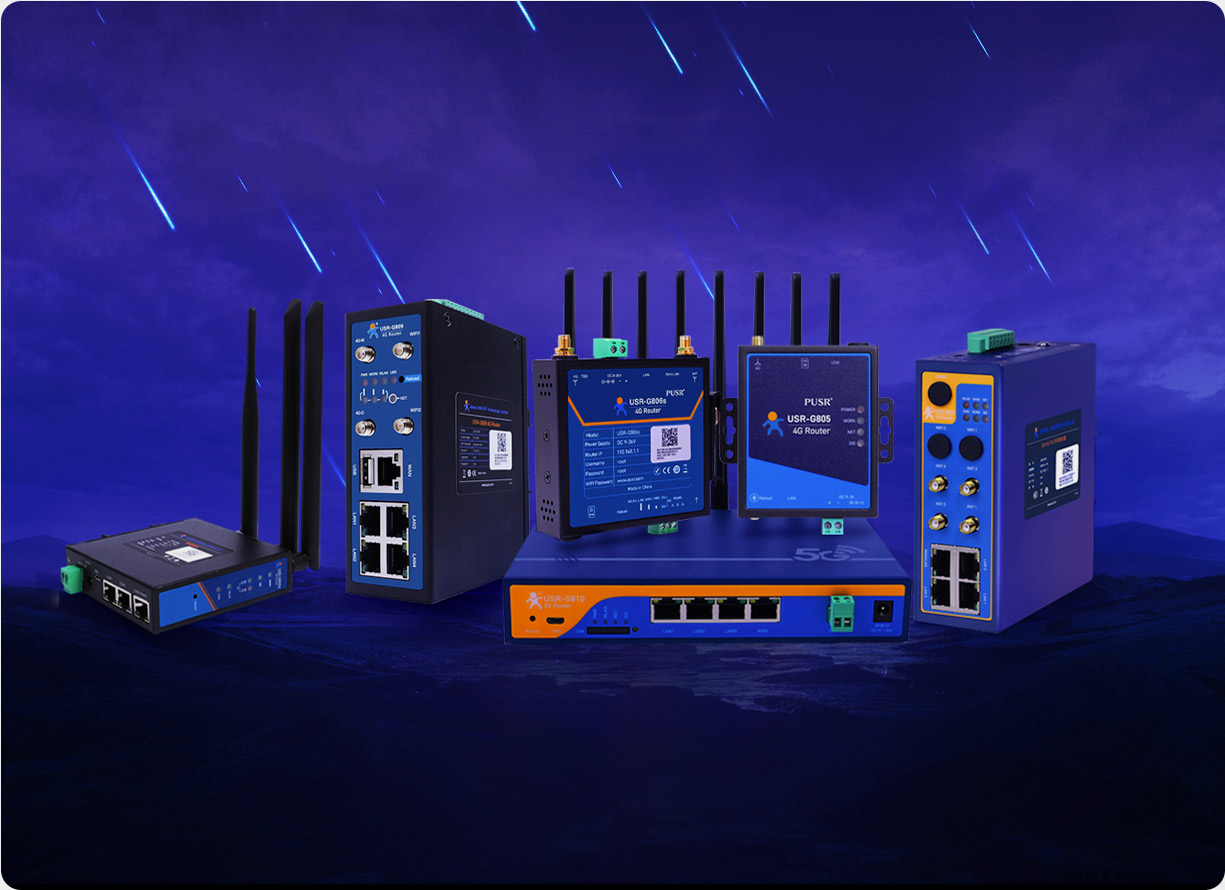
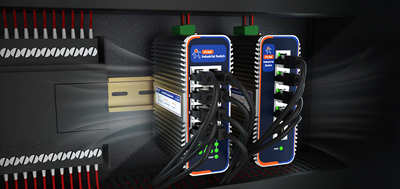
Before delving into the wiring process, it’s essential to have a fundamental understanding of the components involved. The RS485 to Ethernet Converter is a device that converts RS485 serial signals into Ethernet-compatible IP packets and vice versa. It typically features RS485 serial ports for connecting to legacy devices and an Ethernet port for connecting to the network.
The first step in the wiring process is to gather the necessary cables and connectors. For the RS485 connection, you will need a shielded twisted-pair (STP) cable with appropriate connectors on both ends. These connectors should match the type of RS485 ports on your serial server and the legacy device. For the Ethernet connection, you will need a standard Category 5e (Cat 5e) or Category 6 (Cat 6) Ethernet cable with RJ45 connectors.
Connecting the RS485 cable between the serial server and the legacy device is crucial. Ensure that the cable is securely connected to both devices, and the connectors are firmly in place. It’s also important to note the polarity of the RS485 connection, as incorrect wiring can lead to communication errors. Follow the manufacturer’s guidelines or datasheet to ensure proper wiring.
Connecting the Ethernet cable to the serial server is a relatively straightforward process. One end of the cable should be connected to the Ethernet port on the serial server, and the other end should be connected to a suitable network switch or router. Ensure that the cable is securely fastened and that the RJ45 connectors are firmly seated.
Once the wiring is complete, power up the serial server and verify that it is properly connected to the network. You can use a network tester or a similar tool to check for connectivity and ensure that the server is receiving power and is operational. Additionally, you should test the RS485 connection by sending and receiving data between the serial server and the legacy device. This can be done using terminal emulation software or a dedicated testing tool.
After verifying the physical connections, you’ll need to configure the serial server to match the requirements of your network and the connected legacy device. This typically involves setting the baud rate, data bits, stop bits, and parity for the RS485 connection, as well as configuring the network settings such as IP address and subnet mask. Some serial servers also allow you to configure advanced features like flow control and data buffering.
Once the configuration is complete, you can proceed with integrating the serial server into your IoT system. This may involve writing or modifying software applications to communicate with the server, integrating it with existing systems, or using APIs provided by the serial server’s manufacturer.
During the deployment and ongoing operation of the RS485 to Ethernet Converter, it’s important to be prepared for potential issues and perform regular maintenance. This includes monitoring the server’s performance, checking for any errors or warnings, and taking prompt action to resolve any issues that arise. Additionally, keeping the server’s firmware and software up to date can help ensure optimal performance and security.
In conclusion, wiring an RS485 to Ethernet Converter involves careful preparation, precise wiring techniques, and proper configuration. By following these steps and best practices, you can successfully integrate legacy RS485 devices into modern IoT systems, enabling seamless communication and data exchange across the network.